
This is a featured article
Whether you want to sand down an old piece of furniture or reshape a surface, it’s a good idea to consider the sanding basics. Dremel’s handy beginner’s guide to sanding will show you the tools of the trade and where to start.
Contents
Know the basics of sanding
What is sanding and why do we do it? Wood straight from the mill can be rough or contain dents and other marks. Sanding helps to smooth the wood’s surface and it can also emphasise the beauty of the natural grain. In addition to wood sanding, sanding tools can remove rust from metal and polish fibreglass. Sanding also prepares the surface for painting – it ensures the paint or varnish goes on smoothly and looks the best it can. Sanding is one of the most important steps in determining the end finish and quality of any project.
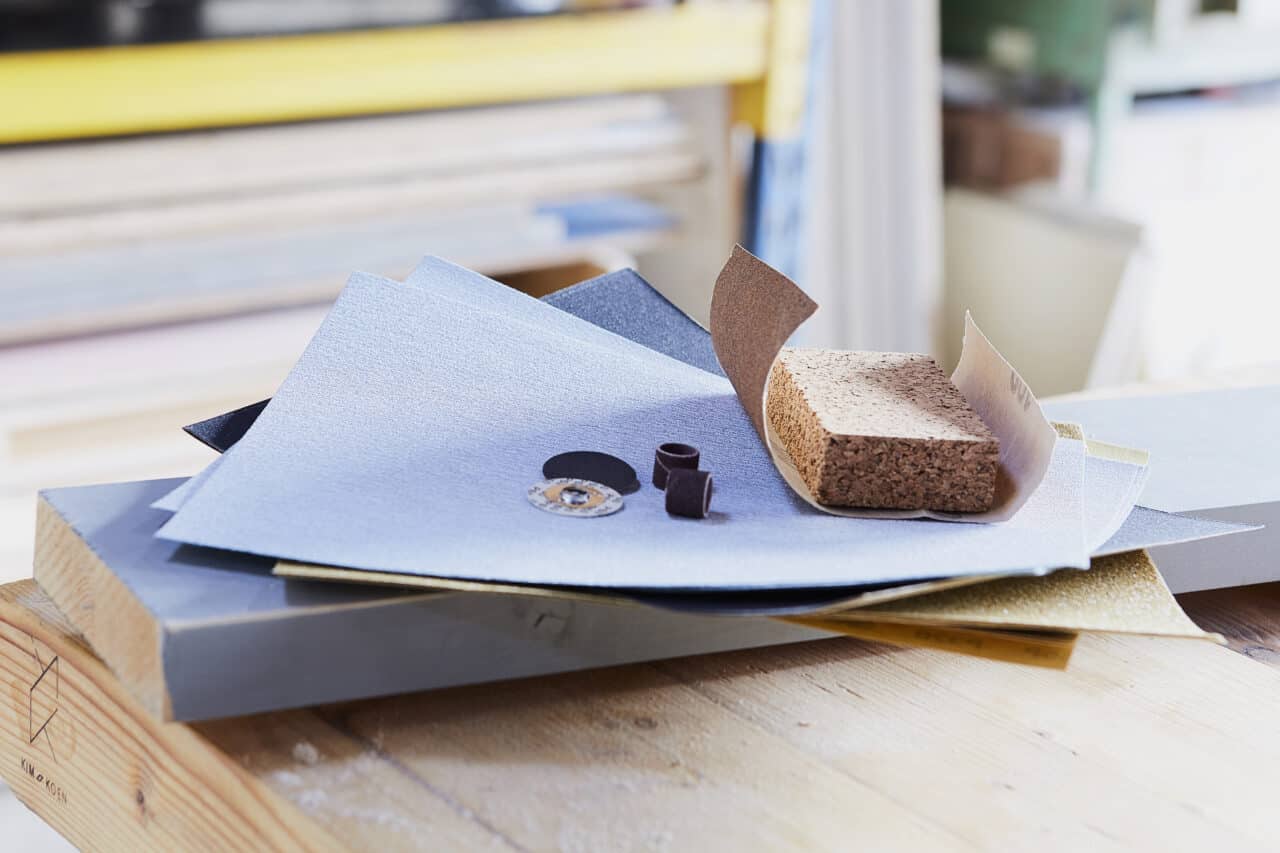
Choose the right sandpaper grit
“Grit” refers to the particles that make up the sandpaper. Larger, fewer particles with more space between them is coarse grit. The smaller and more packed together the particles, the finer the grit. Coarse sandpaper removes imperfections faster and with less effort than fine sandpaper – great for shaping or levelling. Fine grit is used for the later stages of wood sanding – for smoothing and polishing. Begin with a coarse grit to level the wood, then buff scratches with finer grits until you reach the desired smoothness.
Know the best sanding tools for your project
The sanding tool you use depends on the sanding surface. A high-speed stationary sanding machine is best for larger surfaces. Sandpaper can also be used on its own, with a sanding block, an orbital sander or a rotary tool, such as the Dremel Multi-Tool. Hand sanding techniques are best when light sanding is required, or when the surface is quite soft. Many woodworkers favour orbital sanders for flat surfaces and the Dremel Multi-Tool for detailed jobs and hard-to-reach areas. For example, decorative chair legs would be impossible to smooth with the flat surface of an orbital tool.
Pick your Dremel sanding accessories
Dremel has a range of sanding accessories. Below are just a few in order of coarseness:Sanding Bands: Best for flat surfaces and edges. Coarser grit removes more material. Great for roughly shaping woodFlap Wheels: Move with the material, making them suited for contoured surfacesSanding Discs: Less coarse than bands and flap wheels. Suited to light shaping and removing chipsAbrasive Brushes: Perfect for detailed jobs like grooves. Remove the surface layer without damaging what’s underneathAbrasive Buffs: Flexible accessories that take the shape of whatever you’re sanding or buffing. Great for hard-to-reach areas
Take safety precautions before you start sanding
It’s important to always wear a mask to ensure you don’t inhale dust while sanding. You should also sand in a well-ventilated area to further minimise harmful inhalation – especially if you are sanding materials such as fibreglass or metal. If you’re working with materials that release toxic particles during sanding, such as painted objects, then be sure to create a seal around your face. Direct vent goggles are also useful as they have a foam seal to keep particles out of your eyes.
Clamp either the project or your tool before sanding
Sanding is all about preparation and finish, so it’s important that what you’re sanding is firmly in place and isn’t going to move during the project. Non-slip pads are great for gripping flat pieces of wood during sanding, or simply use a clamp. The Dremel Multi-Vise is perfect for detailed projects. It can hold the tool itself so you can hold the object in need of sanding. It can also hold the object steady while you handle the product.
Keep your sanding surface clean
It’s important to prepare the surface before turning on the sanding tool. To do this, use a damp cloth to clean your surface and make sure the surface is dry before you start sanding. If you’re in the middle of sanding and want to change to a coarser grit, use a vacuum cleaner or a brush to remove all the dust. A vacuum cleaner will also prevent dust being pushed back into the grains of the wood.
Know when to stop sanding
If you want to finish the wood with a light stain, you’ll want the surface to be as smooth as possible. Scratches from coarse grits will absorb more of the stain, making it darker in the scratched areas. This means you should finish with a very fine grit. This kind of finish requires a bit more patience and several levels of coarseness. Check for scratches by shining a torch at an angle over the surface as the scratches will cast shadows. However, if you’re going to be using several layers of paint, you don’t need to sand it as finely.
Finish your sanding project with a wipe
Whether you plan on staining or painting your newly sanded surface, you need to ensure it’s clean. The vacuum cleaner clears away most of the mess, but it will still leave traces of sawdust and other residues. Remove even the finest grains of dust with a damp sponge or cloth. When the wood begins to dry, the loose fibres will stand up. When completely dry, lightly sand the entire surface with the highest grit sandpaper. Finally, use a clean cloth and alcohol to take away the last traces of dust so you’re perfectly prepped for a coat (or two) of dust-free varnish or paint.


No Comments