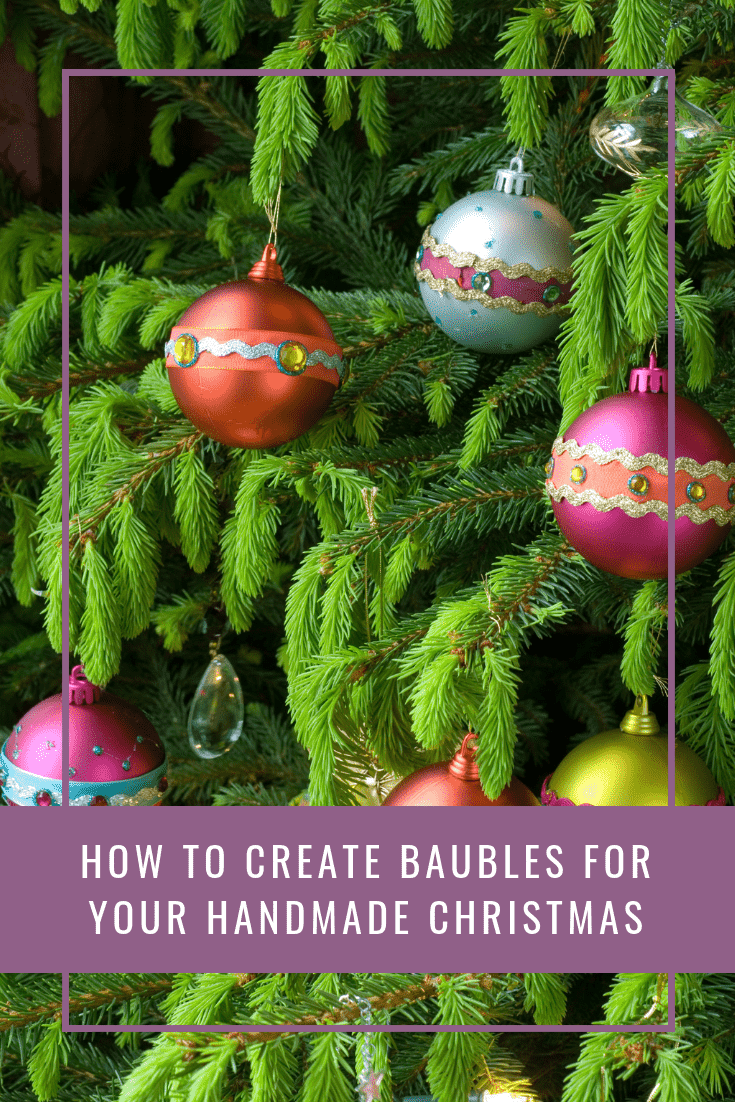
Whether you choose just green and red, or a mixture of colours, the way you decorate the family Christmas tree is a great way to show your personality.
So why not take this one step further this December by designing and customising your very own set of baubles, allowing you to add a splash of creativity and personalisation to this festive time of year. You could even make individual baubles for each family member.
To help, Dremel, the global craft brand, has put together a handy step-by-step guide for you to follow, so you can get to work creating baubles for your handmade Christmas and make the most of your Dremel Glue Gun 930 (RRP £19.99) too. This is a great way to save money at Christmas, as well as give a more personal gift to loved ones and friends – perfect for making to sell at a Christmas craft fair too.

How to create baubles for your handmade Christmas
What you’ll need:
- Dremel Glue Gun 930
- Dremel 7 mm Colour Sticks (GG05)
- Plain baubles
- A selection of ribbons and braids, sequins and small glittery gems
Step 1:
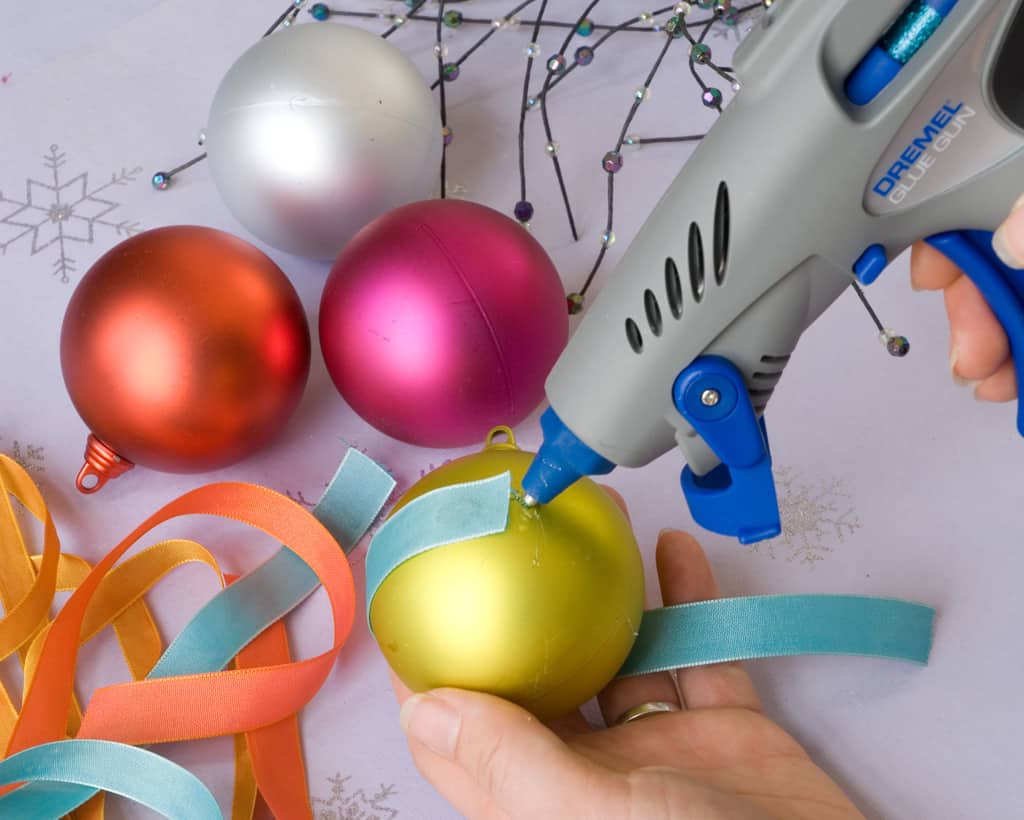
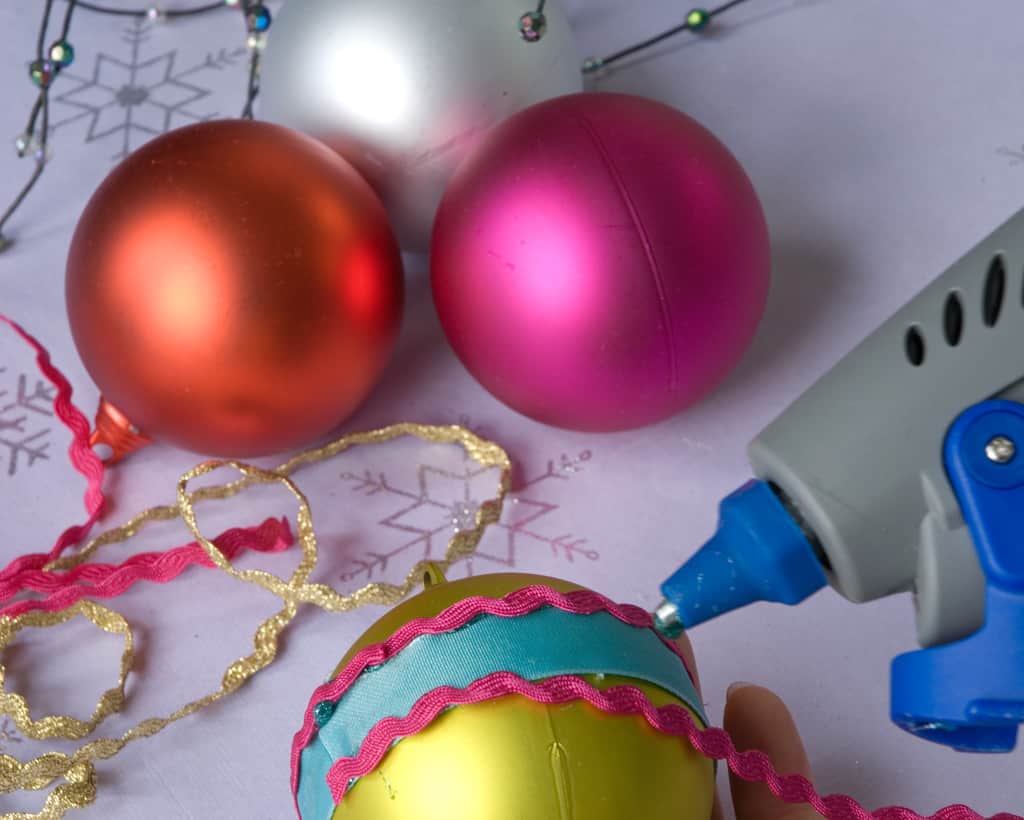
Cut a length of ribbon long enough to fit around the bauble, adding a little extra to overlap the ends. Then, glue the ribbon around the bauble. Next, cut two lengths of the braid and glue them along both edges of the ribbon on the bauble.
Step 2:
Work in small sections at a time so that the glue does not dry before the ribbon has been pressed onto it. Alternatively, glue one strip of braid along the middle of the ribbon.
Step 3:
Apply dots of glue along the ribbon to decorate it, adding sequins and gems for extra embellishment. Then, make small dots of glue above and below the ribbon decoration for a more glittery bauble.
Step 4:
Admire the finished product and enjoy hanging your customised bauble proudly on your Christmas tree.

If you’re looking for more inspiration to get your creative juices flowing, then visit Dremel’s webpage full of projects or follow it on Facebook for regular hints, tips and competitions.
Featured Article
As featured in the Ultimate Christmas Planning


No Comments