

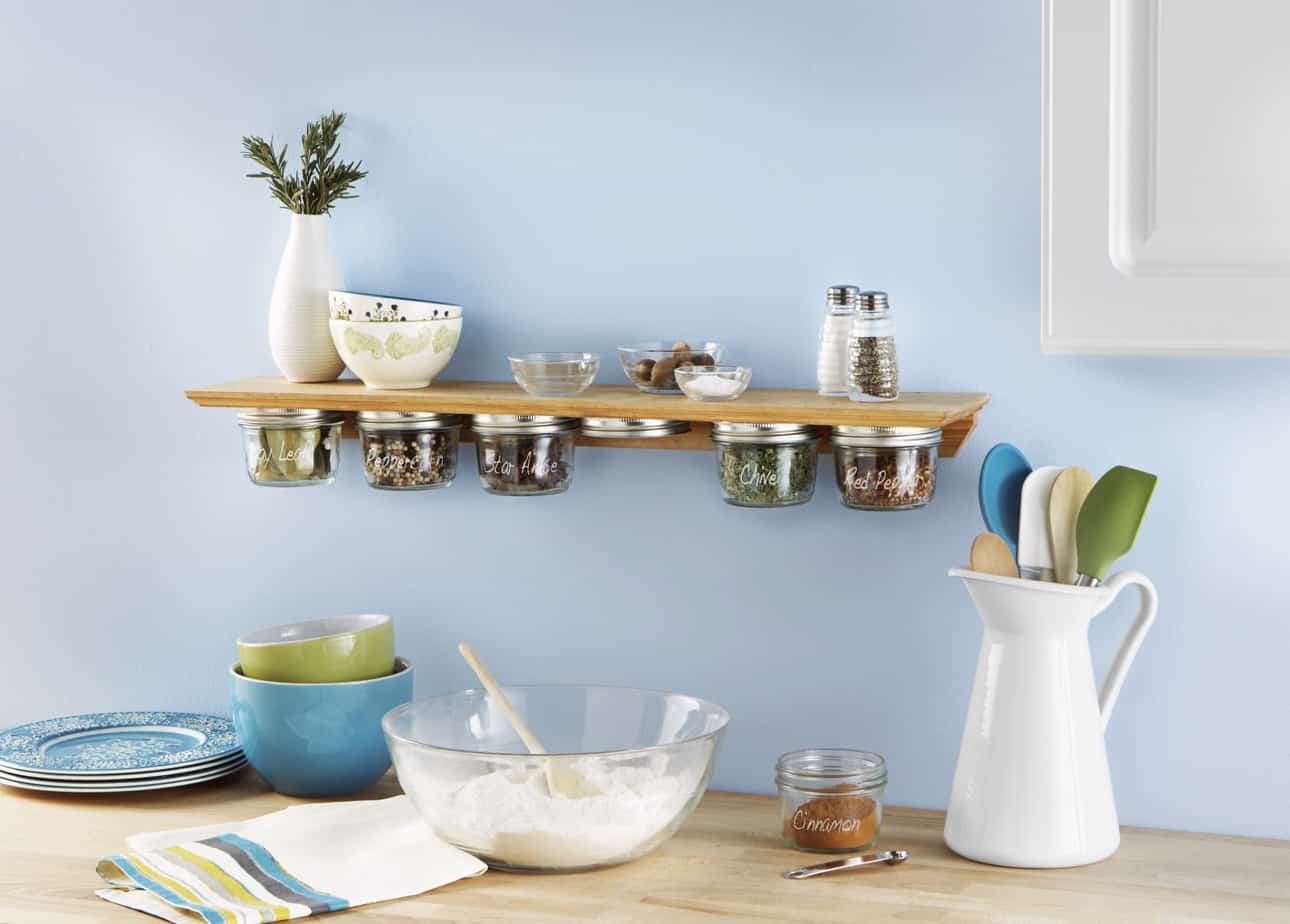
Herbs and spices are perfect for adding flavour to your dishes, and with summer in full swing, investing in your own spice rack will come in handy when you’re looking to impress friends with your barbeque specialities.
However, you don’t have to splash the cash to have the luxury of owning your own spice rack – why not upcycle that long-forgotten wooden shelf left abandoned in your shed by giving it some TLC and transforming it into something both stylish and practical?
Dremel’s how to guide for making a spice rack
Create your one-of-a-kind, space-saving piece to see you through the summer season and beyond with these simple steps from Dremel – you’ll be sprinkling spices galore, just in time for National Herbs and Spices Day.
What you’ll need:
- Old wooden shelf or pallet for the rack itself
- Off-cut of wood for a trim for the shelf
- DSM20 compact cutting saw equipped with a DSM500 Multipurpose Carbide Cutting Wheel
- Dremel Multi-Tool like the Dremel 4300, including 3.2mm drill bits
- Pot of wood stain and old cloth
- 3-5 jam jars depending on the size of the spice rack
- Drill
- Pencil
- Your favourite herbs and spices.
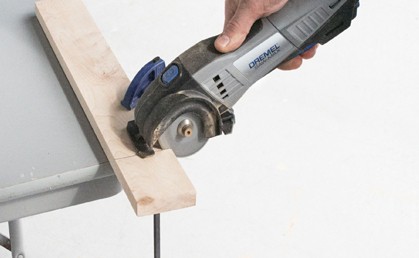

Step 1: Measure your spice rack to your desired length. Remember to consider the number of jars you’d like to include under the rack. Mark your line of cut along your wooden pallet or shelf. Clamp your wood to your workbench and cut along the line using the Dremel DSM20 equipped with a DSM500 Multipurpose Carbide Cutting Wheel. You will easily be able to cut along your marked line as you can view it through the notch at the front of the tool.
Step 2: Measure your off-cut piece of wood to the same length as your wooden shelf to use as your trim. This trim will serve as the support for your shelf and will be drilled into your wall. Mark your cut using a pencil and cut your trim, using the same method as Step 1.
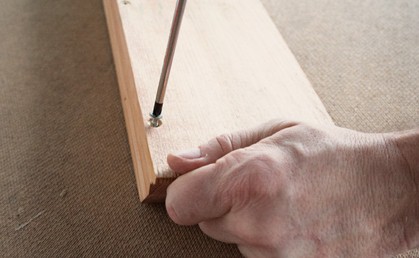

Step 3: To assemble your trim and shelf, lay your cut trim piece upside-down and then lay your larger shelf on top of the trim, which should also be turned upside-down. Line up the corners of the wood pieces so they are flush and, using a Dremel 4300 toolset to high-speed with a 3.2mm drill bit, pre-drill 3-5 pilot holes through the two pieces and hand screw them together. We recommend this instead of hand-drilling to prevent your wood pieces from splitting.
Step 4: Apply a wood stain in your desired colour to the wood with an old cloth and leave to dry.


Step 5: Once your shelf is dry, use a jar lid to space the spice holders along the underside of your wooden shelf. Leave about a finger’s width of space between jars to unscrew the lids easily.
Step 6: Once you determine where you’ll be affixing the lid of each jar, drill a hole through the centre of each lid. Lay the lid on top of your shelf and pre-drill using the Dremel 4300 at high-speed through the centre of your lid and into the shelf to align. Then, affix the lids by hand-screwing them into the pre-drilled holes.
Step 7: Drill your wooden rack into the wall through the trim support you cut in Step 2.
Step 8: Once your upcycled spice rack is mounted to the wall, fill your jars with desired spices and screw them into their new shelf.

If you’re looking for more upcycling inspiration, then visit Dremel’s webpage to find out how you can give unused household items a new lease of life, or follow it on Facebook for regular hints, tips and competitions.
Featured Article


No Comments