Are you struggling with how to get everything done without wearing yourself out? Is there never enough time to get your cleaning done? Like most things, cleaning requires a bit of organisation and planning.
Contents
Phase 1: Preparation and Supplies
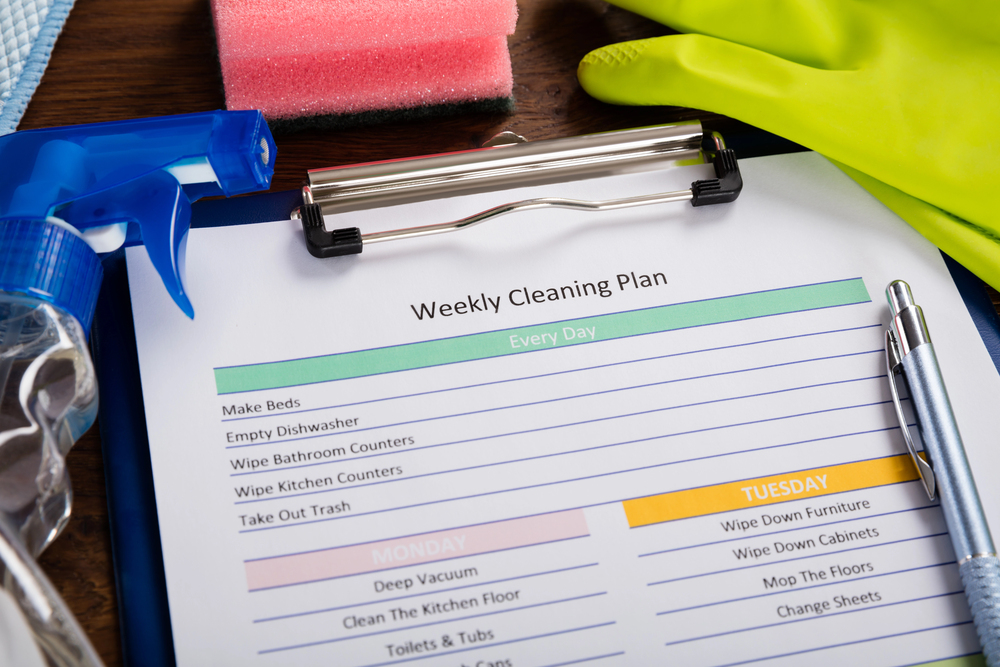
Advanced planning saves significant time and energy. Breaking tasks down and listing them on paper helps you determine time limits and materials needed. Everything will seem less taxing once you have a plan of action.
Create Your Master Task List
Start by defining what you want to achieve.
- List Every Task: What are the tasks that you wish to complete (e.g., wash windows, vacuum, organize cupboards)? Make a detailed list.
- Estimate Time: How much time do you estimate each item will take? Add time estimates to each item listed.
- Identify Tools & Products: What tools or products are required for each item? List them alongside the task.
Gather Your Resources
Once this information has been gathered, do your shopping or locating all necessary tools and products to have on hand.
- Essential Supplies: These could include a step ladder, screwdriver, soap, furniture polish, cloths, paper towels, mop, vinegar or window cleaner, disinfectant, and a vacuum cleaner.
- Prep Your Equipment: Ensure your tools are ready to work efficiently. For your vacuum cleaner, examine and empty the dirt tank, clean the filter(s), and check any belts in advance.
Phase 2: Strategic Scheduling and Timing
Plan your time. Do you want to complete all tasks on a given day or is it better to break them down and take several days?
Set Your Timeline and Energy Level
- Define Duration: Decide if you will complete all tasks on a single day or break them down, guessing your goal is to complete tasks over a five-day period.
- Select Your Peak Time: Choose the best time of day to work. Perhaps you are most energetic in the morning; some prefer evenings. You know best when you can get the most done.
- Commit to the Calendar: Mark your calendar for the days and times as “Cleaning” and don’t let anything but a dire emergency get in your way.
Order Tasks for Maximum Efficiency
Ordering your tasks correctly ensures that one job doesn’t undo a previous one.
- Start with the Toughest: Begin each day with the toughest task or the one you least look forward to doing. This way, you get them done, and your mind isn’t focused on dreading them later.
- Pre-Soak/Pre-Wash: If washing curtains and throw rugs is necessary, put them at the top of your list. While the washer and dryer are running, you will be completing other items. Hanging curtains and laying down throw rugs should be the absolute last task for your day.
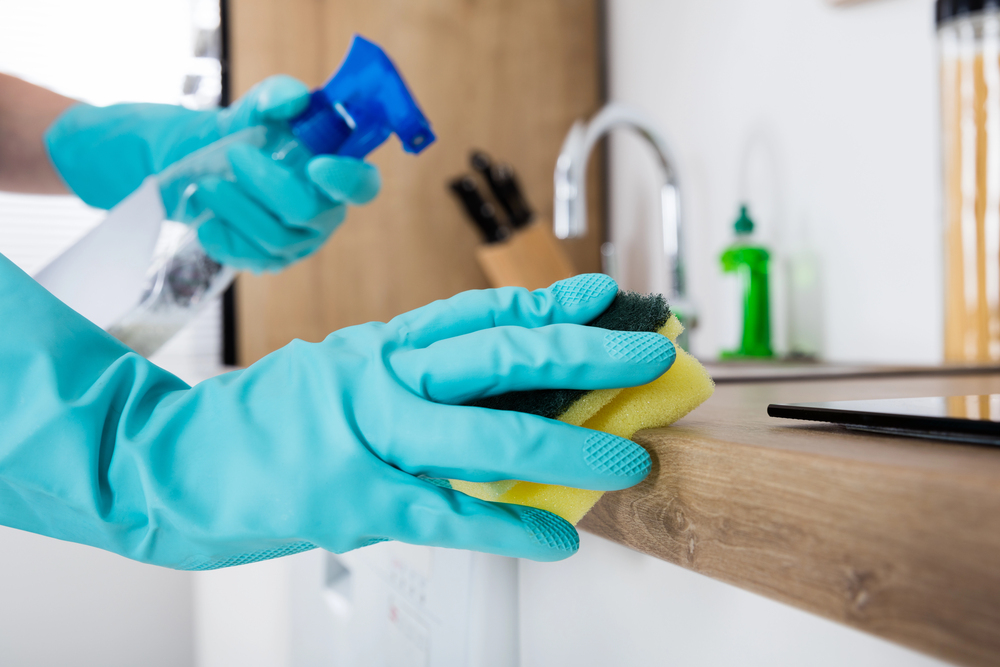
- Work from High to Low: Dusting and cleaning counters and cupboards should be early tasks, for they brush dirt onto the floor.
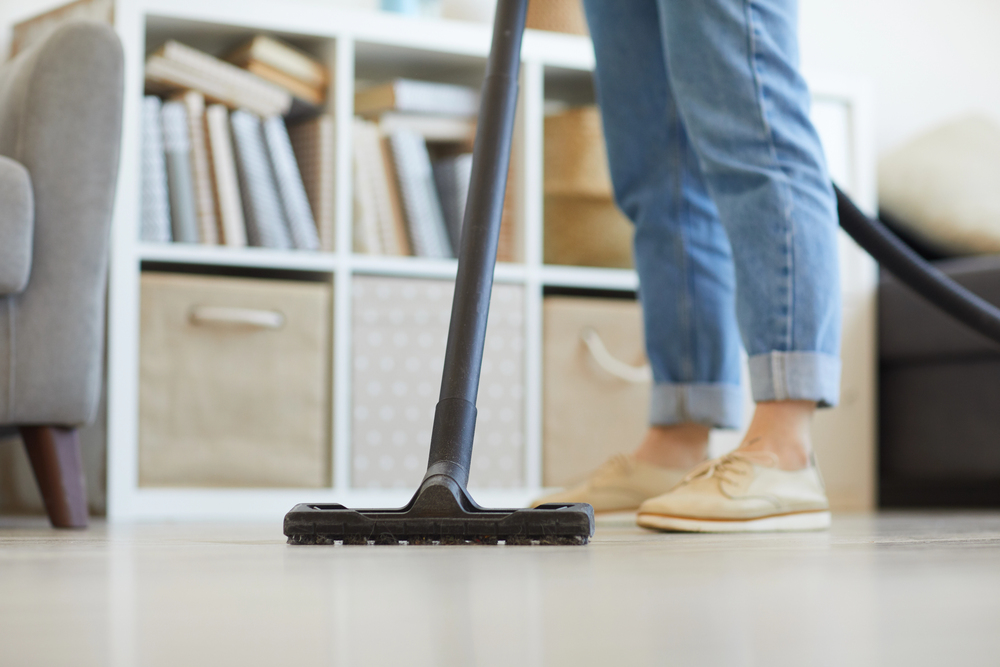
- Save the Floors for Last: If you plan to organize cupboards, wash shelves, wash windows, sweep, and wash floors, save sweeping and washing floors for the very last task.
- Utilize Soaking Time: If you are soaking really dirty dishes, for example, leave them to soak while you go about perhaps cleaning out cupboards or washing windows, provided you have a pail of water and don’t need the sink.
Time-Dependent Tasks
Pay attention to external factors that can improve your results.
- Window Washing Tip: If you are washing windows and the forecast is for rain or an overcast day, choose that as the day to clean. Sunlight not only blinds you, but it dries the water before you finish cleaning, plus it makes viewing marks very difficult.
Phase 3: Targeted Cleaning Hacks
To make your cleaning plan even more effective, incorporate these targeted hacks and efficiency tips:
Optimise Your Tool Usage
- The Cleaning Caddy: Save time and energy by gathering all the necessary tools and products for a single room or task into one caddy or container. This prevents wasted trips back and forth to storage.
- Microfiber Magic: Invest in high-quality microfibre cloths for dusting and counter wiping. They capture dirt and dust more effectively than cotton, often without the need for additional sprays.
- Old Toothbrush Power: Keep an old toothbrush handy for scrubbing hard-to-reach areas, like faucet bases, grout lines, and appliance crevices.
Quick-Win Efficiency Tips
- Soak, Don’t Scrape: As noted in the plan, maximize multitasking by immediately soaking dishes or oven racks before moving to a different room. The soaking time does the heavy work while you complete other tasks.
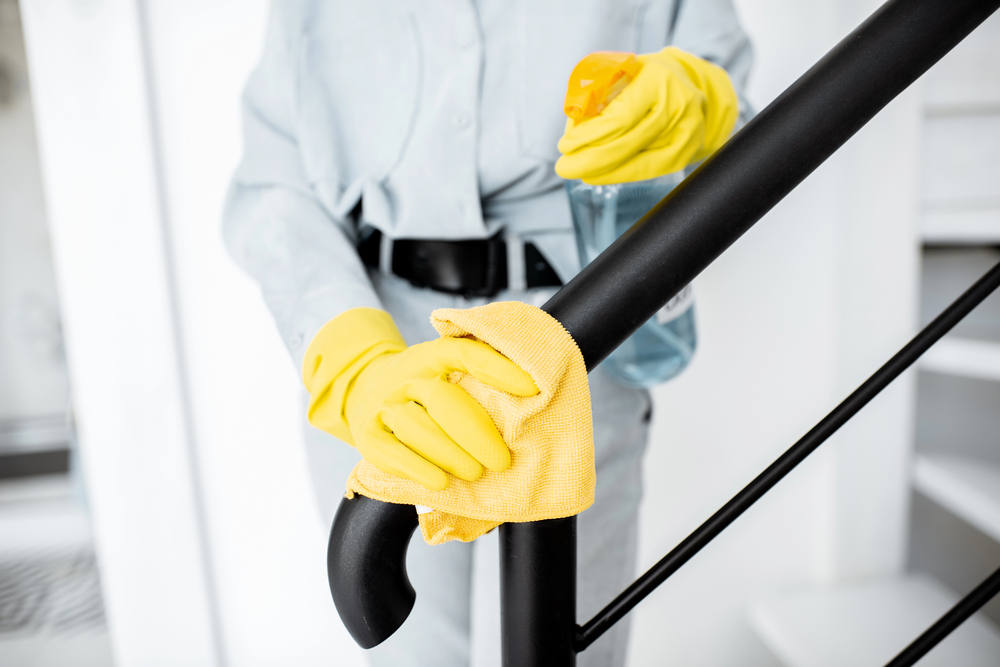
- Clean Top-to-Bottom: When in a room, always clean from the highest points down (e.g., dusting ceiling fans, then shelves, then counters, and finally the floor). Gravity ensures that any debris or dust falls downward, preventing you from having to clean a surface twice.
- The “One-Touch” Rule: Encourage family members to follow the “one-touch” rule for clutter—when they pick something up, they put it away immediately, rather than setting it down somewhere else. This drastically reduces the time needed for pre-cleaning tidying.
- The Power of Vinegar: Use a solution of equal parts water and white vinegar for streak-free windows and shining chrome fixtures. It’s a cheap, natural, and highly effective alternative to commercial cleaners.
Making it a Routine
- Daily Maintenance: Focus on a few minutes of maintenance each day, such as wiping down the kitchen counters after dinner or doing a quick sweep of the main living area. This prevents small tasks from accumulating into overwhelming weekend projects.
- Assign Zones: For family cleaning, assign different zones or tasks to each member. This not only speeds up the process but also instills a sense of shared responsibility.
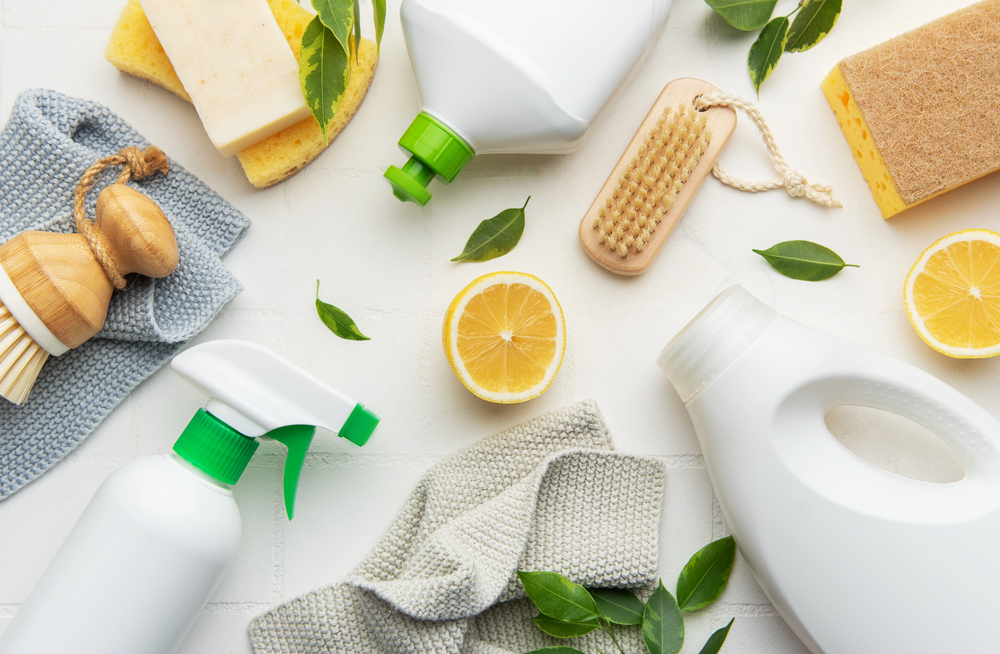
Eco-Friendly Cleaning Hacks
1. Ditch Disposables
Reducing waste is the easiest way to improve your cleaning’s sustainability.
- Switch to Reusable Cloths: Instead of paper towels, use washable microfibre or old cotton rags (like cut-up T-shirts) for cleaning, dusting, and wiping up spills.
- Reusable Mop Heads: Opt for mop systems that use machine-washable mop pads instead of single-use disposable sheets.
- Skip Pre-Moistened Wipes: These generate a lot of waste. Instead, keep a spray bottle of your favourite homemade cleaner and use it with a reusable cloth.
2. Embrace Natural Ingredients
Many common, low-cost household ingredients are highly effective cleaners, reducing your reliance on harsh chemicals in plastic bottles.
- Vinegar for Everything: As mentioned, white distilled vinegar is a powerful disinfectant and de-greaser. Use it diluted (50/50 with water) for windows, mirrors, and counters. Note: Avoid using vinegar on natural stone surfaces like granite or marble, as the acid can etch them.
- Baking Soda Power: Baking soda is a natural abrasive and odor absorber. Use it to scrub sinks, bathtubs, and ovens, or sprinkle it on carpets before vacuuming to neutralize odors.
- Lemon Juice: The natural acid in lemon juice is excellent for dissolving soap scum and removing hard water stains, plus it leaves a fresh scent.
3. Smart Shopping for Supplies
When you do need to buy products, make sure you choose the most eco-conscious options.
- Look for Concentrates: Buy concentrated versions of your favorite cleaners and mix them with water in your own reusable spray bottles. This saves on plastic packaging and reduces the energy required for shipping water-heavy products.
- Choose Certified Products: Look for cleaning products with recognized environmental certifications, which indicate reduced toxicity and sustainable ingredient sourcing.
- Essential Oils for Scent: Instead of synthetic fragrances, add a few drops of essential oils (like tea tree for disinfectant, or orange/peppermint for a fresh smell) to your homemade cleaners.
A Simple Multi-Purpose Cleaner Recipe
A basic, non-toxic cleaner is a great starting point for an eco-friendly routine:
- 1 part White Vinegar
- 1 part Water
- 10-15 drops of essential oil (e.g., lemon, lavender, or tea tree)
Mix these in a reusable spray bottle. This solution can clean most non-porous surfaces in your kitchen and bathroom!
Wrapping Up Your Plan
By looking at the entire project in advance, you can save much time and energy simply by advanced planning. Breaking tasks down and listing them on paper not only helps you to itemise but also determines time limits and materials needed. Everything will seem less taxing once you have a plan of action.
Image Credit: Deposit Photos